> For the complete documentation index, see [llms.txt](https://illust.gitbook.io/illust-studio/llms.txt). Markdown versions of documentation pages are available by appending `.md` to page URLs; this page is available as [Markdown](https://illust.gitbook.io/illust-studio/core-studio-features-and-functions/augmented-editor/animations.md).
# 💨 Animations
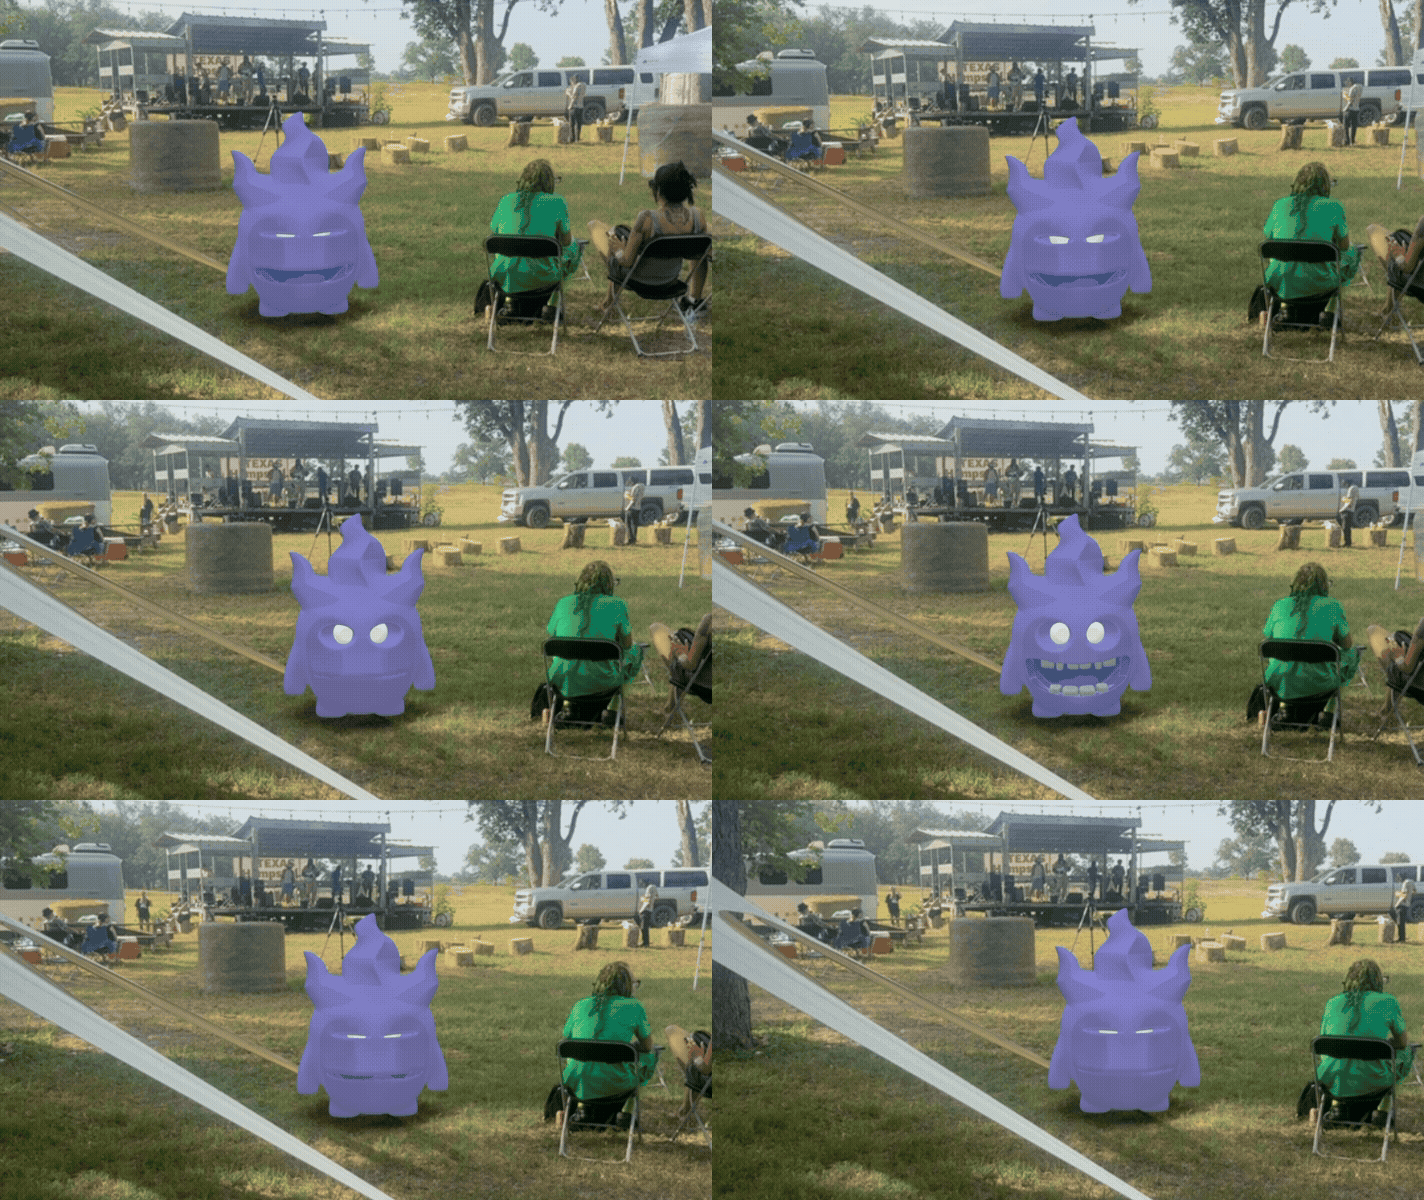
Animations Module: an area that adds motion to your augmented reality object. This AR functionality breaths life into your creation!
## Glossary of Studio Terms
**Loop: for those 3D model experiences with "baked" animations.** Creators can choose what type of animation cadence they'd like for their experiences *(note: supported with world, face, and marker tracked placements)*:\
+**Loop once**: plays the animation one time\
+**Loop repeat**: In repeat and pingpong modes, the clip plays once plus the specified number of repetitions. \
+**Loop pingpong:** In pingpong modes, the clip plays once plus the specified number of repetitions. For pingpong, every second clip plays in reverse.
**Time Scale:** Scaling factor for playback speed. A value of 0 causes the animation to pause. A value of 1 is normal playback speed. Negative values cause the animation to play backwards.
The looping feature is applied to those experiences with baked animations.
### **Animated Rotation**
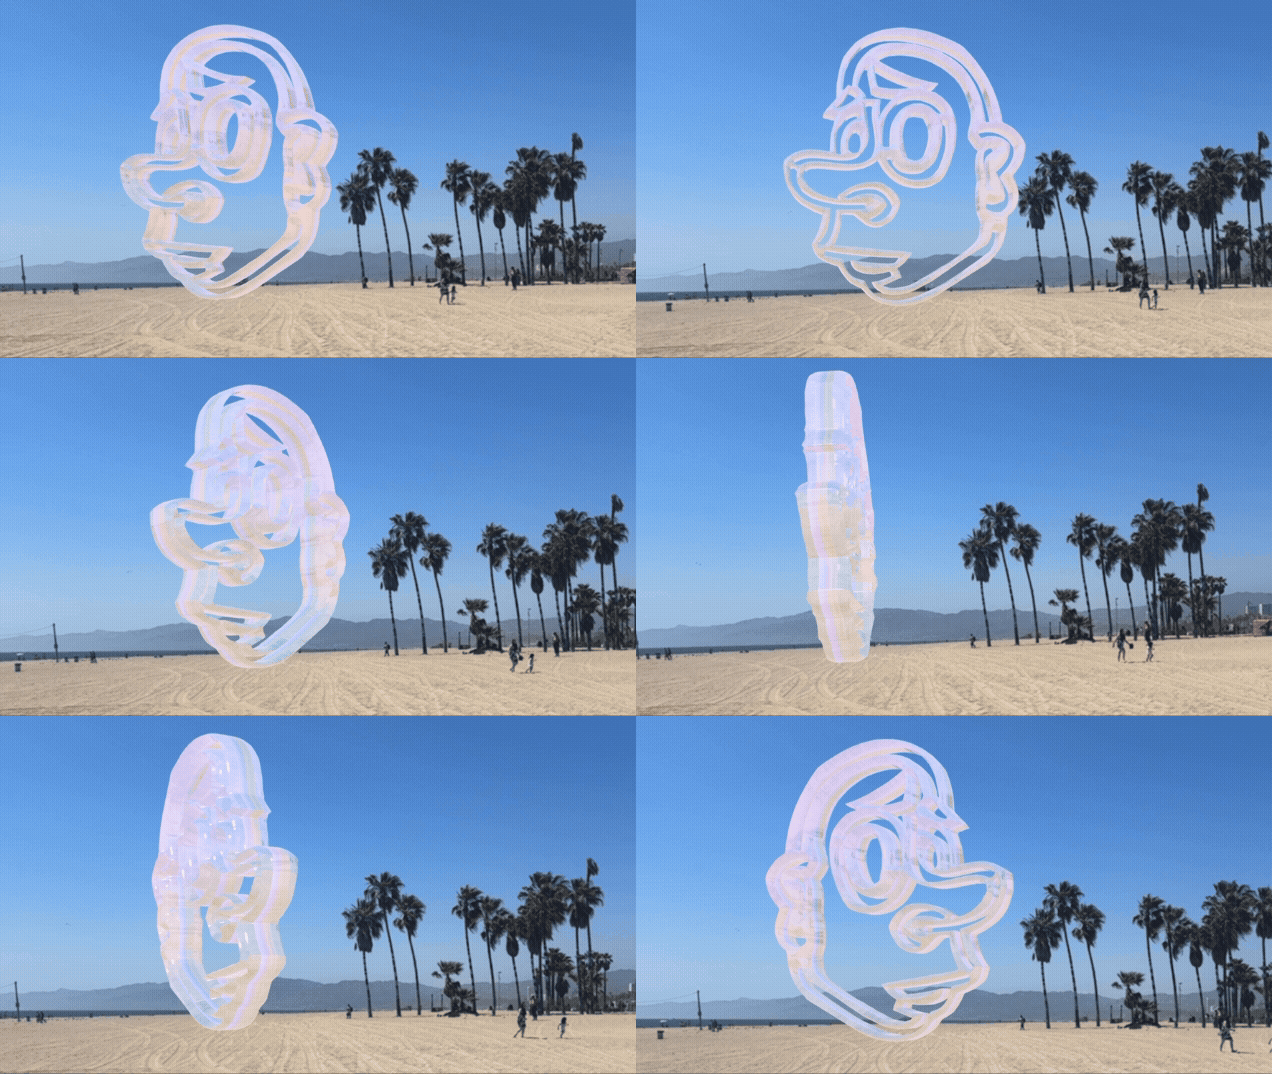
Set up an animation of the model over a specific axis. \
*(note: works with world tracking and marker tracking based experiences)*
**Axis:** the x, y, or z dimension that the creator can determine the animation rotates over. Value for each are between -1 to 1.
**Revolution Speed:** the speed for a single full revolution in milliseconds. Note: the higher the number the slower the revolution speed.
## How to Configure an Animation in the Studio
1. Upload a photo/video/3D object/message in General Data
2. Navigate to Editor Mode > Animations Module
3. Select the animation loop
4. Turn on the animated rotation
5. Choose the access
6. Select the speed
7. Save